Quickstart
Back4app is a low-code backend platform that simplifies building modern applications. This guide will help you quickly set up Back4app and start saving data.
Back4app Main Features
- Database (real-time capability)
- Cloud Code Functions
- APIs (GraphQL and REST)
- File Storage
- Authentication
- Web Deployment
- Push Notifications
5-minutes quick start
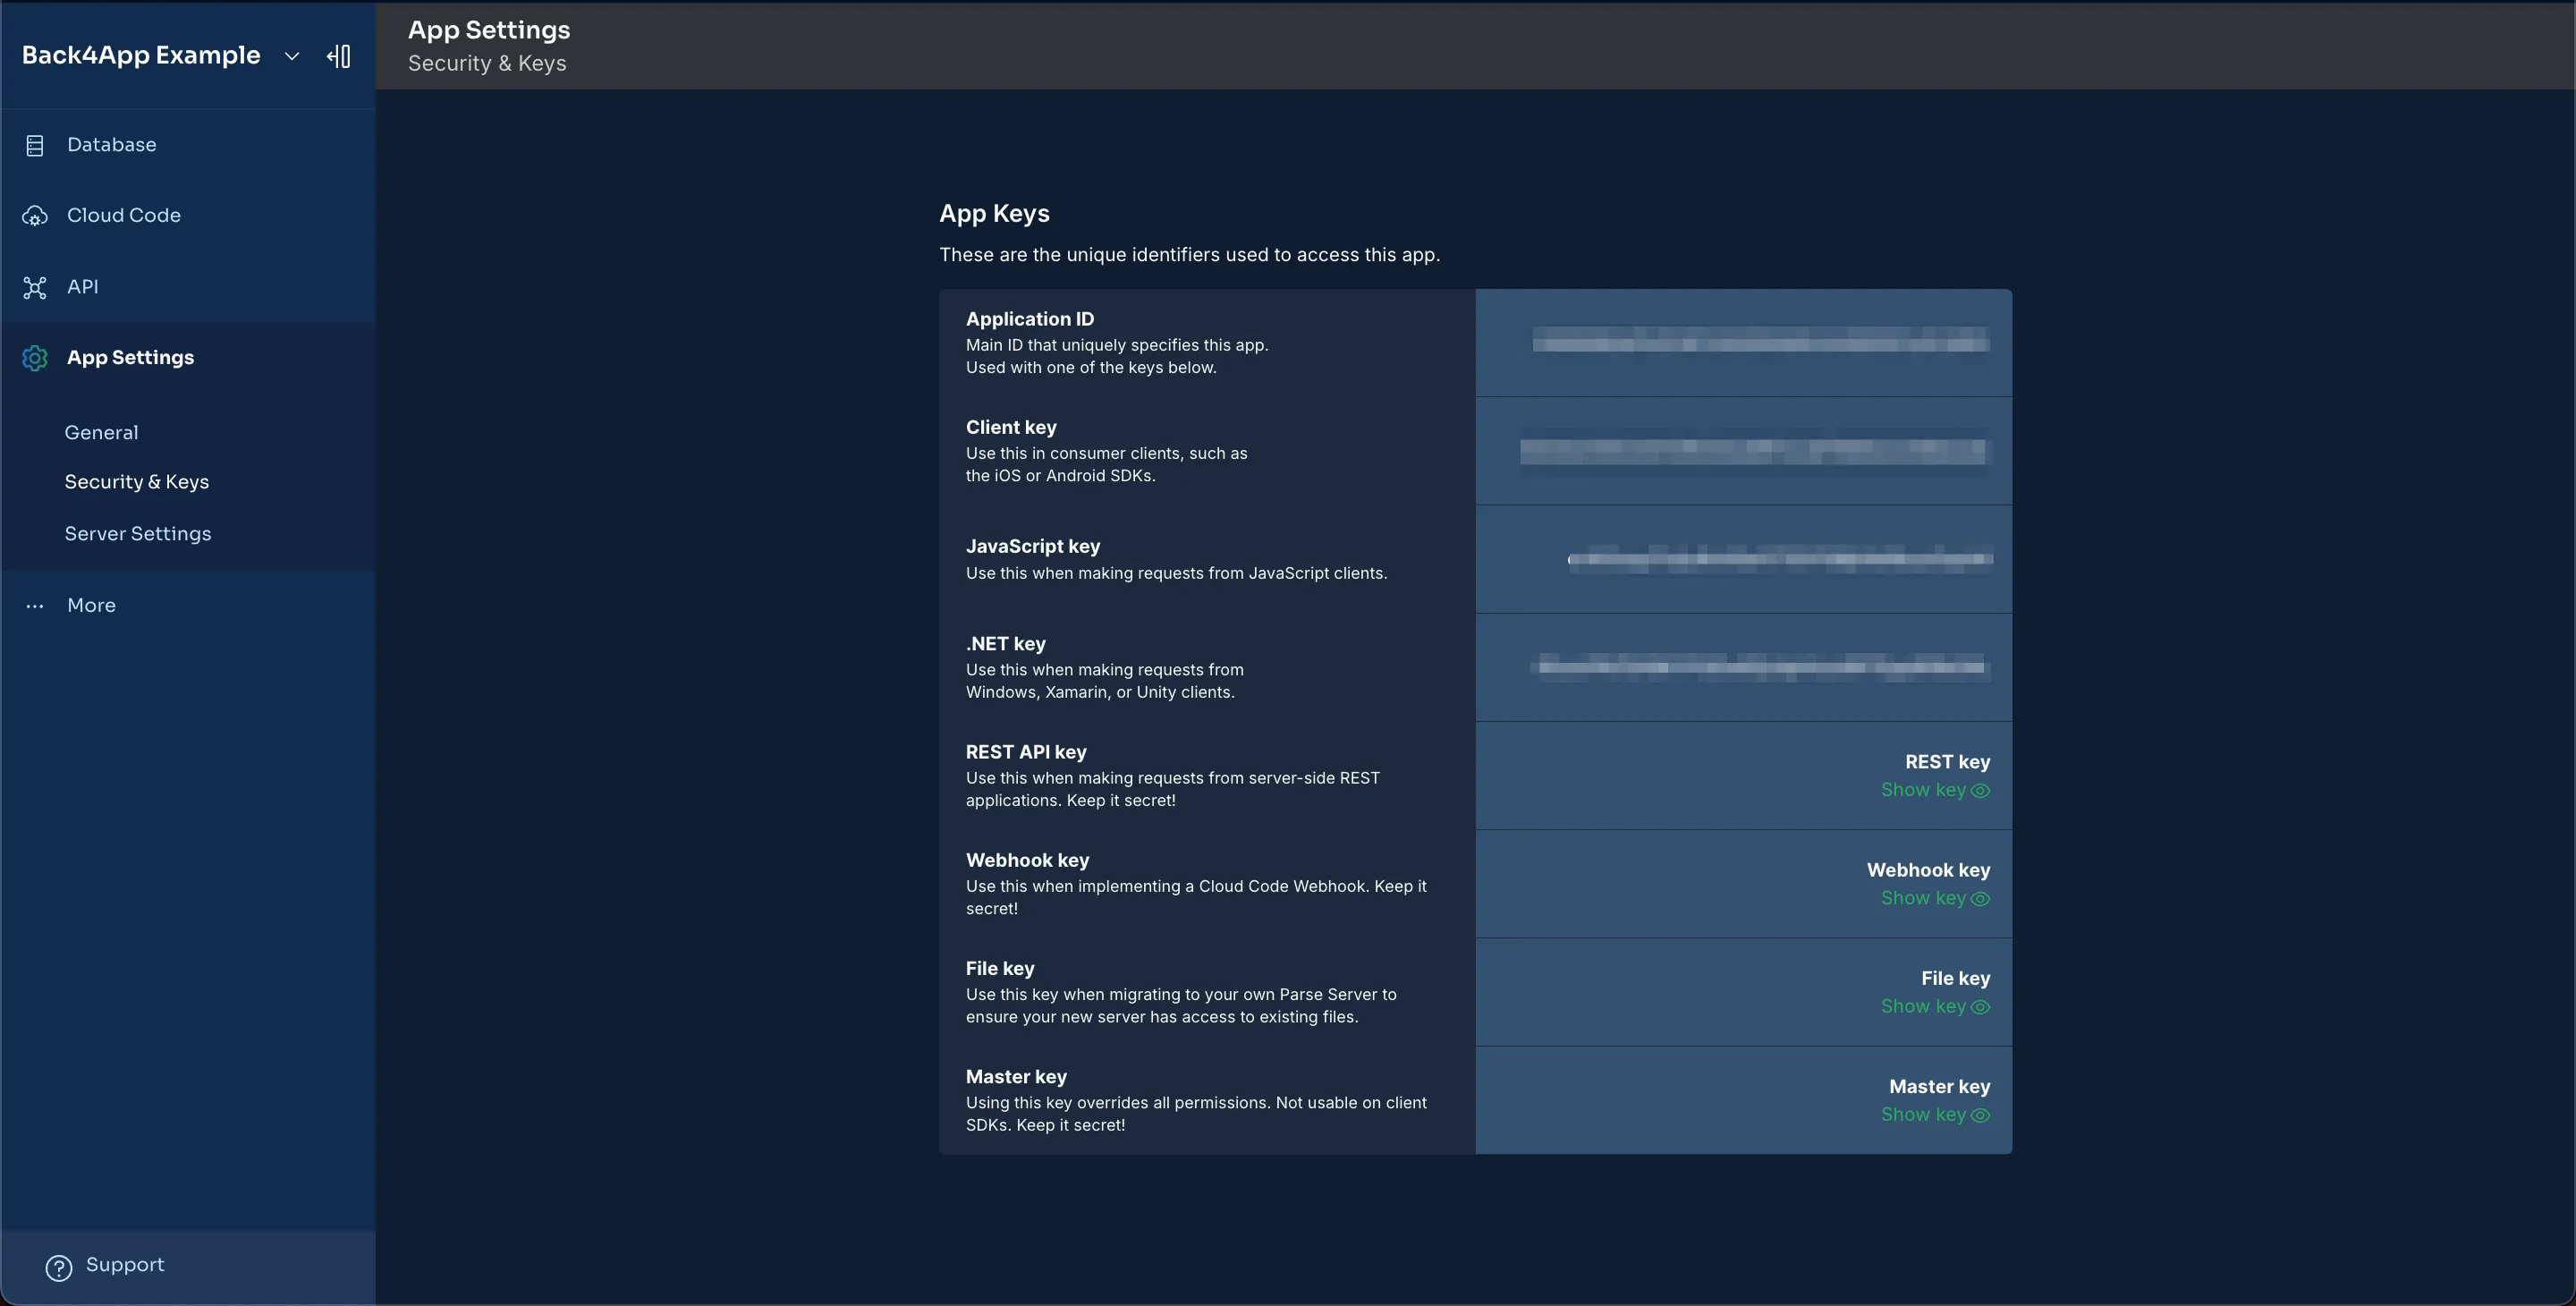
After creating your Back4app account and first app, go to your App Dashboard and get your App Keys under App Settings -> Security & Keys(check the image below). Note that you will always need two keys to connect with Back4app, the Application ID, and another key according to the SDK you will use.
1. Install and Configure the Parse SDK
To integrate the Parse SDK, follow these general steps:
Install the Parse SDK:
- JavaScript / Node.js: npm install parse --save
- React Native: npm install parse @react-native-async-storage/async-storage --save, then run cd ios && pod install
- Flutter: Add parse_server_sdk_flutter to pubspec.yaml
- Android (Java): Add your app's build.gradle inside dependencies{}:
implementation "com.github.parse-community.Parse-SDK-Android:parse:latest_version"- iOS (Swift): Install CocoaPods (sudo gem install cocoapods) and add Parse to your Podfile
Initialize the Parse SDK with your Application ID and the appropriate key:
Parse.initialize('YOUR_APPLICATION_ID', 'YOUR_JAVASCRIPT_KEY');
Parse.serverURL = 'https://parseapi.back4app.com/';
The example above is for JavaScript/Node.js. Adjust accordingly for your platform.
2. Save Data on Back4app
Create and save a sample object to confirm that the SDK is properly set up. Use the example below and adapt it to your programming language:
async function saveNewPlayer() {
    const player = new Parse.Object('Player');
    player.set('name', 'Alex');
    player.set('yearOfBirth', 1997);
    player.set('emailContact', '[email protected]');
    player.set('attributes', ['fast', 'good endurance']);

    try {
        const result = await player.save();
        console.log('New object created with ID:', result.id);
    } catch (error) {
        console.error('Failed to save object:', error.message);
    }
}
After saving, you can verify the data in the App Dashboard on Back4app.
3. Platform-Specific Setup
JavaScript - React / Angular
- Install the SDK: npm install parse --save
- Initialize with your App Keys and Back4app server URL.
Flutter
- Add parse_server_sdk_flutter in your pubspec.yaml:
dependencies:
  parse_server_sdk_flutter: ^latest_version
2. Initialize Parse in main.dart:
await Parse().initialize('YOUR_APPLICATION_ID', 'https://parseapi.back4app.com', clientKey: 'YOUR_CLIENT_KEY');Android (Kotlin/Java)
- Include the SDK in build.gradle and configure network permissions in AndroidManifest.xml
- Initialize in App.kt:
Parse.initialize(new Parse.Configuration.Builder(this)
    .applicationId(getString(R.string.back4app_app_id))
    .clientKey(getString(R.string.back4app_client_key))
    .server(getString(R.string.back4app_server_url))
    .build()
);
iOS (Swift)
- Add ParseSwift to your project using CocoaPods.
- Initialize Parse in AppDelegate.swift:
let configuration = ParseClientConfiguration {
    $0.applicationId = "YOUR_APPLICATION_ID"
    $0.clientKey = "YOUR_CLIENT_KEY"
    $0.server = "https://parseapi.back4app.com"
}
Parse.initialize(with: configuration)
PHP
- Install the SDK with Composer by creating a composer.json with:
{
    "require": {
        "parse/php-sdk" : "1.6.*"
    }
}
Then, run composer.install.
2. Initialize Parse in your PHP script:
require 'vendor/autoload.php';
ParseClient::initialize('YOUR_APP_ID', 'YOUR_REST_KEY', 'YOUR_MASTER_KEY');
ParseClient::setServerURL('https://parseapi.back4app.com', '/');
3. Save Data in PHP:
$player = new ParseObject("Player");
$player->set("name", "Alex");
$player->set("yearOfBirth", 1997);
$player->set("emailContact", "[email protected]");
$player->setArray("attributes", ["fast", "good endurance"]);
$player->save();
.NET (C#)
- Install Parse SDK through NuGet Package Manager in Visual Studio.
- Initialize Parse in your application:
ParseClient.Initialize(new ParseClient.Configuration {
    ApplicationId = "YOUR_APP_ID",
    Server = "https://parseapi.back4app.com",
    ClientKey = "YOUR_CLIENT_KEY"
});
3. Save Data in C#:
var player = new ParseObject("Player")
{
    ["name"] = "Alex",
    ["yearOfBirth"] = 1997,
    ["emailContact"] = "[email protected]",
    ["attributes"] = new List<object> { "fast", "good endurance" }
};
await player.SaveAsync();
REST API
- Save Data via REST by sending a POST request:
curl -X POST \
-H "X-Parse-Application-Id: YOUR_APP_ID" \
-H "X-Parse-REST-API-Key: YOUR_REST_KEY" \
-H "Content-Type: application/json" \
-d '{"name":"Alex", "yearOfBirth":1997, "emailContact":"[email protected]", "attributes":["fast", "good endurance"]}' \
https://parseapi.back4app.com/classes/Player
4. Additional Resources and Examples
There are many example apps and starter projects to get going
- React Native Associations - A template on React Native digging deeper into associations and relational queries using Pointers andRelations.
Find more examples in Back4app Templates.
What to do Next?
After completing the quick start, we encourage you to explore Back4app's key features through the guides below. You'll learn how to store and query relational data, implement cloud functions for backend logic, use real-time subscriptions to keep users updated, manage file storage, send push notifications, and set up authentication. Select the technology that best fits your project and enjoy the journey!