Basic Queries
Basic Queries
Introduction
In most use cases, we require to fetch data from a database with certain conditions. These conditions may include complex comparisons and ordering requirements. Thus, in any application, it is fundamental to construct efficient queries and, at the same time, the database has to be able to execute them as fast as possible.
The ParseSwift SDK does provide the necessary tools for you to construct any query according to the application requirements. In this tutorial, we explore these tools and use them in a real-world application.
This tutorial uses a basic app created in Xcode 12 and iOS 14.
At any time, you can access the complete Project via our GitHub repositories.
Goal
- To understand how to create basic queries to retrieve data from a Back4App Database.
Prerequisites
To complete this quickstart, you need:
- Xcode.
- An app created at Back4App.
- Note: Follow the Install Parse SDK (Swift) Tutorial to create an Xcode Project connected to Back4App.
Understanding our Constacts App
The project template is a Contacts App where the user adds a contact’s information to save it on a Back4App Database
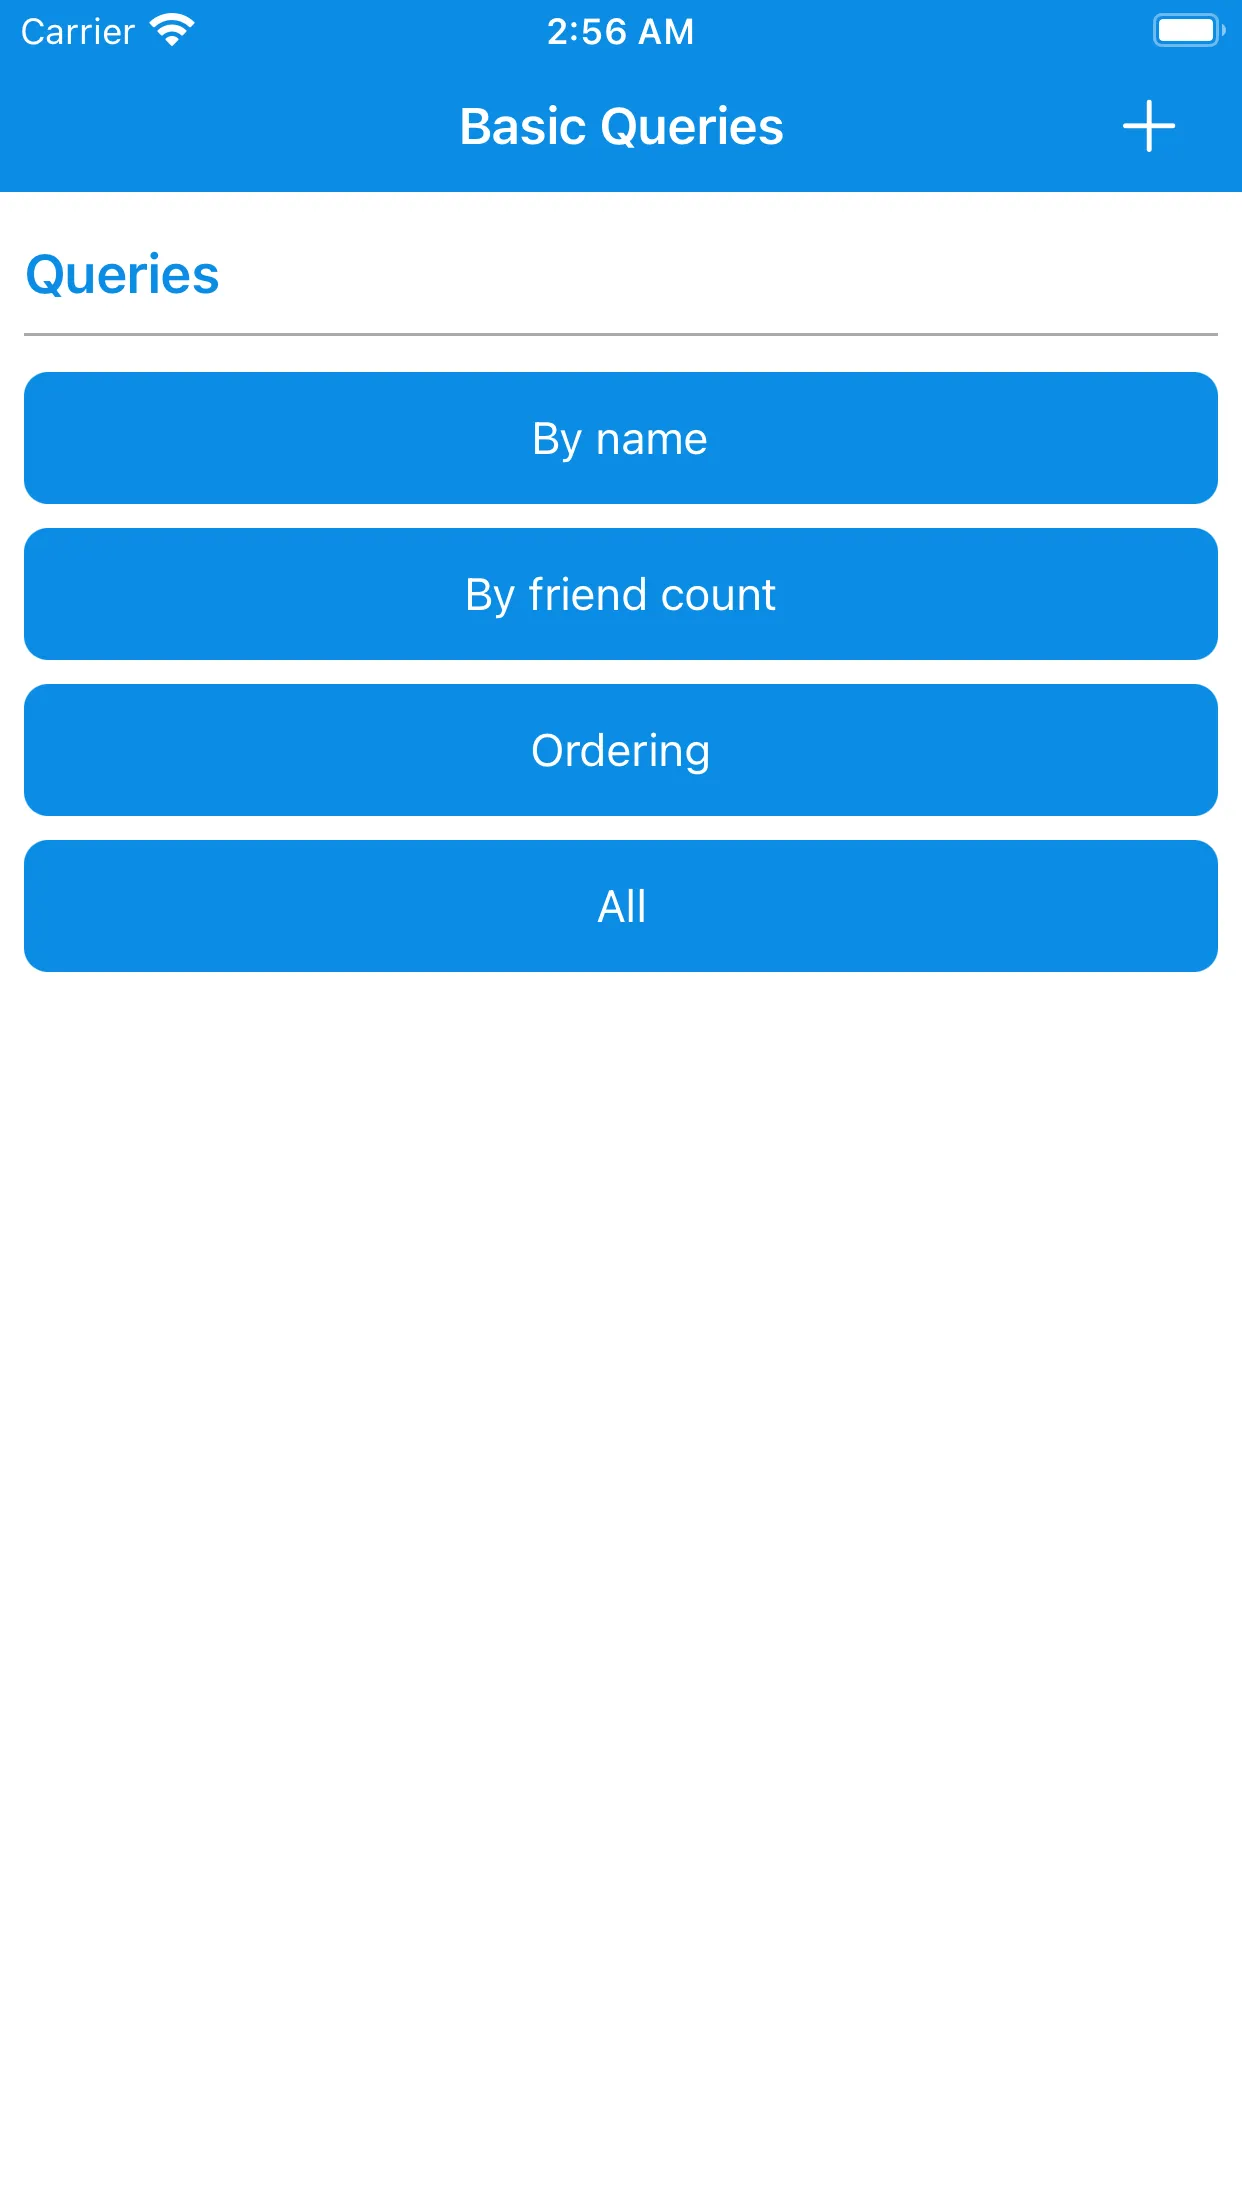
On the app’s homescreen you will find a set of buttons for different types of queries. Using the + button located on the top-right side of the navigation bar, we can add as many Contacts as needed.
Quick reference of commands we are going to use
For this example, we use the object Contact
1   import Foundation
2   import ParseSwift
3
4   struct Contact: ParseObject {
5       // Required properties from ParseObject protocol
6       var originalData: Data?
7       var objectId: String?
8       var createdAt: Date?
9       var updatedAt: Date?
10      var ACL: ParseACL?
11
12      // Custom fields for the contact's information
13      var name: String?
14      var birthday: Date?
15      var numberOfFriends: Int?
16      var favoriteFoods: [String]?
17
18      ...
19  }
The following methods will allows us to save and queryContactobjects:
//When creating and saving a new instance of Contact we can use
1   var newContact: Contact = Contact(name: "John Doe", birthday: Date(), numberOfFriends: 5, favoriteFoods: ["Bread", "Pizza"])
2
3   // Saves newContact on your Back4App Database synchronously and returns the new saved Item. It throws and error if something went wrong.
4   let savedContact = try? newContact.save()
5
6   // Saves newContact on your Back4App Database asynchronously, and passes a Result<Contact, ParseError> object to the completion block to handle the save process.
7   newContact.save { result in
8       // Handle the result to check wether the save process was successfull or not
9   }
1 - Download the Contacts App Template
The XCode project has the following structure
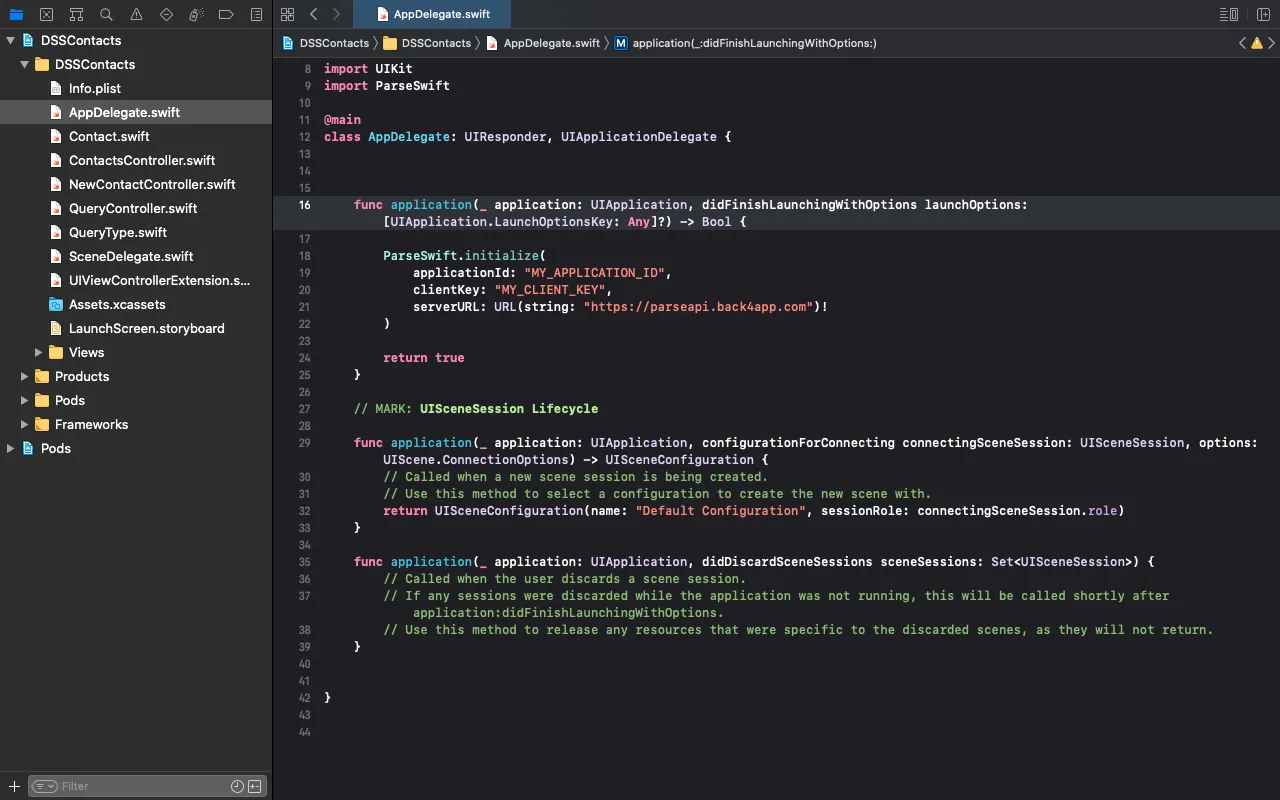
At any time, you can access the complete Project via our GitHub repositories.
To focus on the main objective of this guide, we will only detail the sections strictly related to queries and the ParseSwift SDK.
2 - Additional CRUD flow
Before getting started with queries, it is necessary to have some contacts already saved on your Back4App Database. In the NewContactController class, we implement a basic form to add a Contact. To save an instance of a Contact object, we use the handleAddContact() method implemented in the NewContactController class
1   // NewContactController.swift file
2   ...
3
4   extension NewContactController {
5       /// Retrieves the info the user entered for a new contact and stores it on your Back4App Database
6       @objc fileprivate func handleAddContact() {
7           view.endEditing(true)
8
9           // Collect the contact's information from the form
10          guard let name = nameTextField.text,
11                let numberOfFriendsString = numberOfFriendsTextField.text,
12                let numberOfFriends = Int(numberOfFriendsString),
13                let favoriteFoods = favoriteFoodsTextField.text?.split(separator: ",") else {
14              return showAlert(title: "Error", message: "The data you entered is con valid.")
15          }
16
17          // Once the contact's information is collected, instantiate a Contact object to save it on your Back4App Database
18          let contact = Contact(
19              name: name,
20              birthday: birthdayDatePicker.date,
21              numberOfFriends: numberOfFriends,
22              favoriteFoods: favoriteFoods.compactMap { String($0).trimmingCharacters(in: .whitespaces) }
23          )
24
25          // Save the new Contact
26          contact.save { [weak self] result in
27              switch result {
28              case .success(_):
29                  self?.showAlert(title: "Success", message: "Contact saved.") {
30                      self?.dismiss(animated: true, completion: nil)
31                  }
32              case .failure(let error):
33                  self?.showAlert(title: "Error", message: "Failed to save contact: \(error.message)")
34              }
35          }
36      }
37  }
For more details about this step, you can go to the basic operations guide.
3 - Performing basic queries
- By name
The first example we look at is a query that allows us to retrieve contacts which have a specific substring in their name field. In order to do this, we first create a QueryConstraint object. This object will contain the constraint we want. The ParseSwift SDK provides the following methods to (indirectly) create a QueryConstraint
1   // QueryConstraint.swift file
2
3   /**
4     Add a constraint for finding string values that contain a provided substring.
5     - warning: This will be slow for large datasets.
6     - parameter key: The key that the string to match is stored in.
7     - parameter substring: The substring that the value must contain.
8     - parameter modifiers: Any of the following supported PCRE modifiers (defaults to nil):
9       - `i` - Case insensitive search
10      - `m` - Search across multiple lines of input
11    - returns: The resulting `QueryConstraint`.
12   */
13  public func containsString(key: String, substring: String, modifiers: String? = nil) -> QueryConstraint
14
15  /**
16   Add a constraint that requires that a key is equal to a value.
17   - parameter key: The key that the value is stored in.
18   - parameter value: The value to compare.
19   - returns: The same instance of `QueryConstraint` as the receiver.
20   - warning: See `equalTo` for more information.
21   Behavior changes based on `ParseSwift.configuration.isUsingEqualQueryConstraint`
22   where isUsingEqualQueryConstraint == true is known not to work for LiveQuery on
23   Parse Servers  <= 5.0.0.
24   */
25  public func == <T>(key: String, value: T) -> QueryConstraint where T: Encodable
For instance, a query that allows us to retrieve all the Contact’s with John in their name field can be created with
1   // Create the query sending the constraint as parameter
2   let constraint: QueryConstraint = containsString(key: "name", substring: "John") // The first parameter (key) referres to the name of the field
3   let query = Contact.query(constrain)
4
5   // Retrieve the contacts asynchronously (or sinchronously if needed)
6   query.find() { result in
7       // Handle the result and do the corresponding UI update
8   }
In case the constraint requires the name field to match exactly a given string, we can use
1   // Create the query sending the constraint as parameter
2   let value = "John"
3   let constraint: QueryConstraint = "name" == value
4   let query = Contact.query(constrain)
- By number of friends
A query with a constraint involving a numerical comparison can be constructed by creating aQueryConstraint with
1   /**
2    Add a constraint that requires that a key is greater than a value.
3    - parameter key: The key that the value is stored in.
4    - parameter value: The value to compare.
5    - returns: The same instance of `QueryConstraint` as the receiver.
6    */
7   public func > <T>(key: String, value: T) -> QueryConstraint where T: Encodable
8
9   /**
10   Add a constraint that requires that a key is greater than or equal to a value.
11   - parameter key: The key that the value is stored in.
12   - parameter value: The value to compare.
13   - returns: The same instance of `QueryConstraint` as the receiver.
14   */
15  public func >= <T>(key: String, value: T) -> QueryConstraint where T: Encodable
16
17  /**
18   Add a constraint that requires that a key is less than a value.
19   - parameter key: The key that the value is stored in.
20   - parameter value: The value to compare.
21   - returns: The same instance of `QueryConstraint` as the receiver.
22   */
23  public func < <T>(key: String, value: T) -> QueryConstraint where T: Encodable
24
25  /**
26   Add a constraint that requires that a key is less than or equal to a value.
27   - parameter key: The key that the value is stored in.
28   - parameter value: The value to compare.
29   - returns: The same instance of `QueryConstraint` as the receiver.
30   */
31  public func <= <T>(key: String, value: T) -> QueryConstraint where T: Encodable
To query all contacts with 30 or more friends, we use
1   let query = Contacts.query("numberOfFriends" >= 30)
2
3   // Retrieve the contacts asynchronously (or sinchronously if needed)
4   query.find() { result in
5       // Handle the result and do the corresponding UI update
6   }
- Ordering query results
For ordering the results from a query, the Query<contacts> object provides the method order(_:) which returns a new Query<contact> object considering the requested ordering option. As a parameter, we pass an enumeration (Query<contact>.Order) to indicate the ordering we want. The following snippet applies a descending order based on the birthday field
1   // A query without order to retrieve all the Contact items
2   let unorderedQuery = Contact.query()
3
4   // Sorts the contacts based on their brithday. The parameter in the enumeration is the key of the field used to order the results
5   let descendingOrder = Query<Contact>.Order.descending("birthday")
6
7   let orderedQuery = unorderedQuery.order([descendingOrder]) // Returns a new query with the requested (descending) ordering option
8
9   // Executes que query asynchronously and returns a Result<[Contact], ParseError> object with the result
10  orderedContacts.find() { result in
11      // Handle the result
12  }
In the project example, we implemented the queries mentioned above. The ContactsController class has the method fetchContacts() where you will find the following snippet
1   ...
2
3   class ContactsController {
4       let queryType: QueryType
5
6       ...
7
8       private func fetchContacts() {
9           // We create a Query<Contact> according to the queryType enumeration
10          let query: Query<Contact> = {
11              switch queryType {
12              case .byName(let value):
13                  return Contact.query(containsString(key: "name", substring: value))
14              case .byNumberOfFriends(let quantity):
15                  return Contact.query("numberOfFriends" >= quantity)
16              case .byOrdering(let order):
17                  let query = Contact.query()
18                  switch order {
19                  case .ascending: return query.order([.ascending("birthday")])
20                  case .descending: return query.order([.descending("birthday")])
21                  }
22              case .all:
23                  return Contact.query()
24              }
25          }()
26
27          // Execute the query
28          query.find { [weak self] result in
29              switch result {
30              case .success(let contacts):
31                  self?.contacts = contacts
32
33                  // Update the UI
34                  DispatchQueue.main.async { self?.tableView.reloadData() }
35              case .failure(let error):
36                  // Notify the user about the error that happened during the fetching process
37                  self?.showAlert(title: "Error", message: "Failed to retrieve contacts: \(error.message)")
38                  return
39              }
40          }
41      }
42  }
4 - Run the app!
Before pressing the run button on XCode, do not forget to configure your Back4App application in the AppDelegate class!
Using the+button in the navigation bar, add a counple of contacts and test the different queries.