Facebook Login
How to add facebook login to your Ionic App
Introduction
This section explains how you can create an app with user registration using Facebook Login and Parse Server core features through Back4App.
After following this tutorial, you will be able to do this:
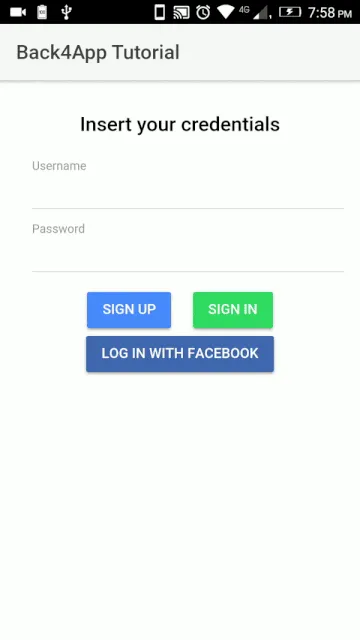
At any time, you can access the complete Ionic Project built with this tutorial at our GItHub repository.
To complete this quickstart, you need:
- An app created at Back4App.
1 - Facebook Set up
To start using Facebook functions, you need to:
- At the left panel, click on Settings > Basic. In this page:
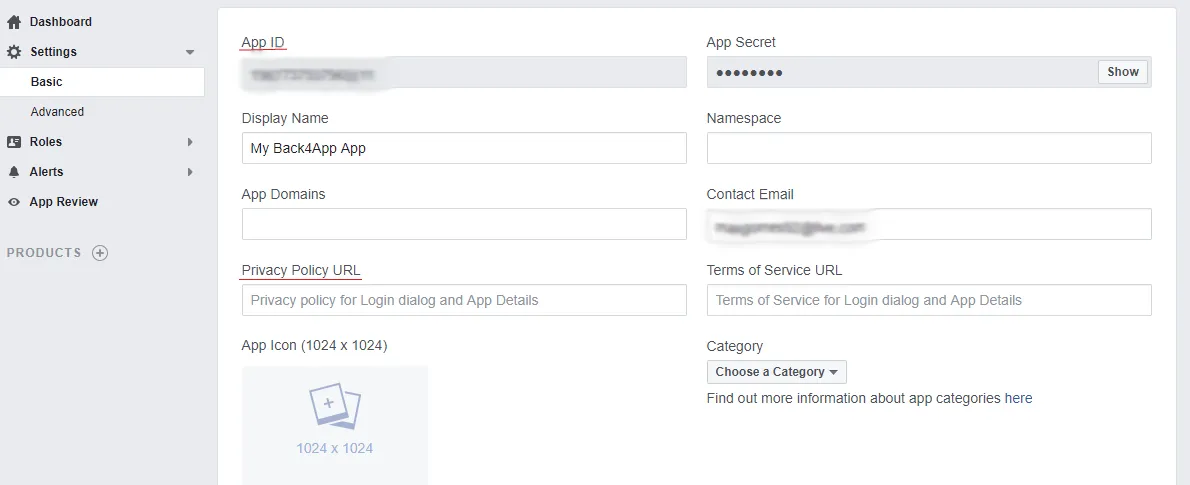
- Take note of your App ID
- Add a Privacy Police URL
- Select a Category
- Scroll down and hit Save changes
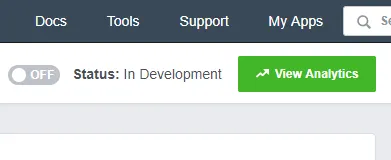
4. At the top of the same page, click on the Off button and Confirm to make your app live.
5. Scroll down at the same page and click on Add platform.
- For this tutorial, let’s choose Android.
- Add your Google Play Package Name which in our case is com.back4app.myapp
- Add the Key Hashes of your machine (run keytool -exportcert -alias androiddebugkey -keystore ~/.android/debug.keystore | openssl sha1 -binary | openssl base64 to find out yours)
- Save changes
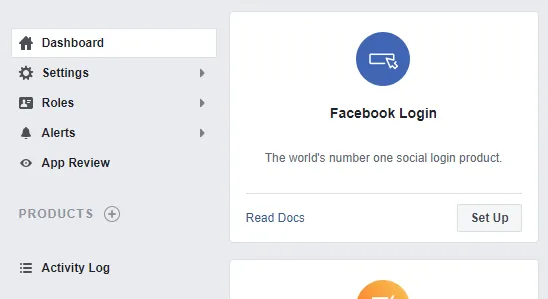
6. At the left panel, to back to Dashboard, scroll down and click on Facebook Login.
2 - Link your Facebook App with Back4App
- Find the “Facebook Login” block and click on Settings. The “Facebook Login” block looks like this:
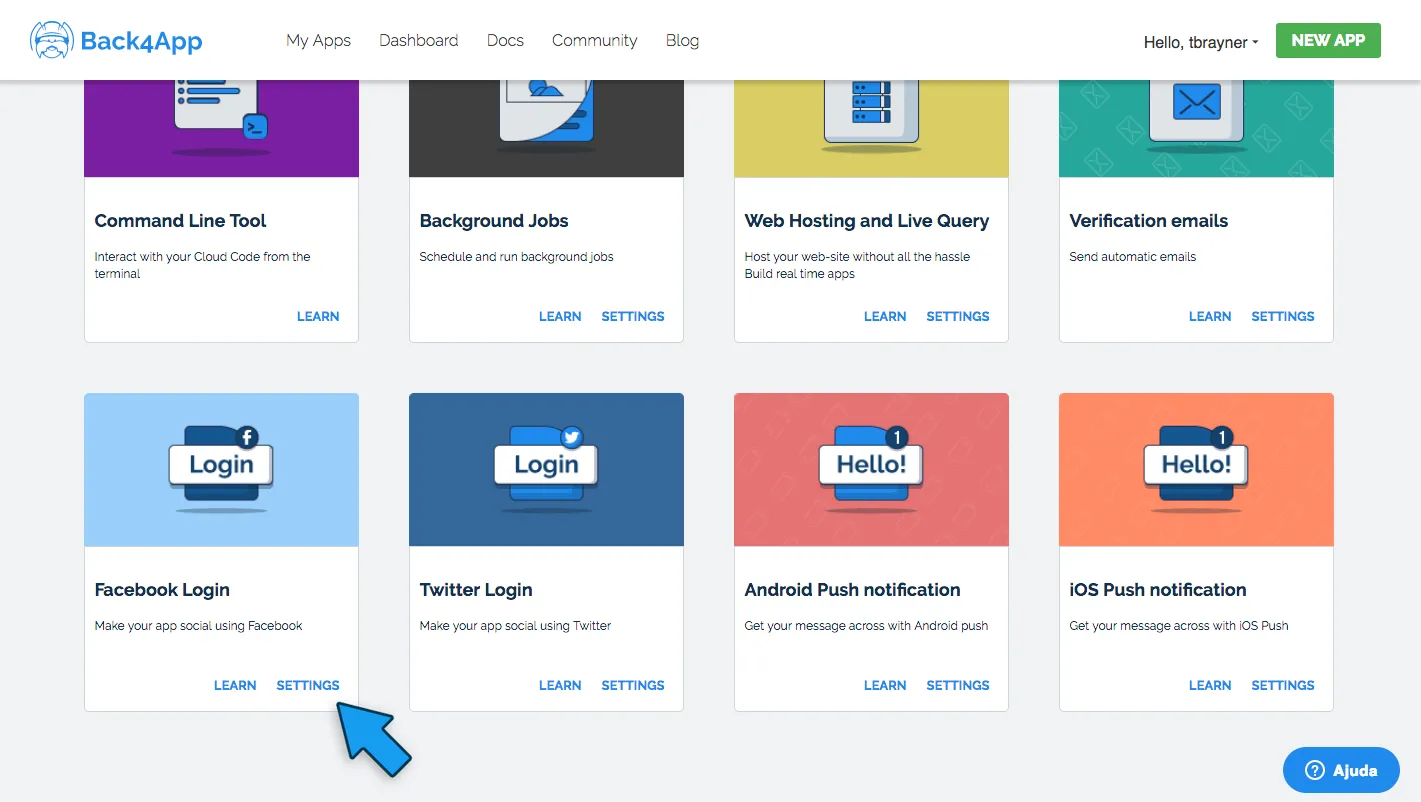
3. Add the Facebook App ID taken note in the previous step.
3 - Set up
In this tutorial, we will be starting from where we left off in the previous User registration with email verification one.
4 - Facebook Login
Let’s first install Facebook cordova plugins:
Now, let’s implement the facebookLogin() method:
1     async facebookLogin() {
2       try {
3         // Log in to Facebook and request user data
4         let facebookResponse = await this.facebook.login(['public_profile', 'email']);
5         let facebookAuthData = {
6           id: facebookResponse.authResponse.userID,
7           access_token: facebookResponse.authResponse.accessToken,
8         };
9
10        // Request the user from parse
11        let toLinkUser = new Parse.User();
12        let user = await toLinkUser._linkWith('facebook', {authData: facebookAuthData});
13
14        // If user did not exist, updates its data
15        if (!user.existed()) {
16          let userData = await this.facebook.api('me?fields=id,name,email,first_name,picture.width(720).height(720).as(picture)', []);
17          user.set('username', userData.name);
18          user.set('name', userData.name);
19          user.set('email', userData.email);
20          await user.save();
21        }
22
23        this.navCtrl.setRoot('HomePage');
24      } catch (err) {
25        console.log('Error logging in', err);
26
27        this.toastCtrl.create({
28          message: err.message,
29          duration: 2000
30        }).present();
31      }
32    }
Finally, let’s add a button to our Login page and make it call the method we just created:
1   <div text-center>
2         <button ion-button color="facebook" (click)="facebookLogin()">
3           LOG IN WITH FACEBOOK
4         </button>
5       </div>
5 - Test your app
- Since Facebook log in does’t work on a browser, test your app by running ionic cordova run android.
- Find your app and click on Dashboard > Core > Browser > User to see the user that you’ve created!
It’s done!
At this stage, you can log in, register and log out of your app with Facebook using Parse Server core features through Back4App!