Geoqueries
Geoqueries
Introduction
In this guide, you’ll learn how to perform GeoPoint querying on Parse in an Android application.
This tutorial uses an app created in Android Studio Arctic Fox -2020.3.1 with compileSdk = 30 , minSdk = 23 and targetSdk = 30
At any time, you can access the complete Android Project built with this tutorial at our Github repositories
Goal
Perform Geoqueries using geopoints stored on Back4App and Android geolocation.
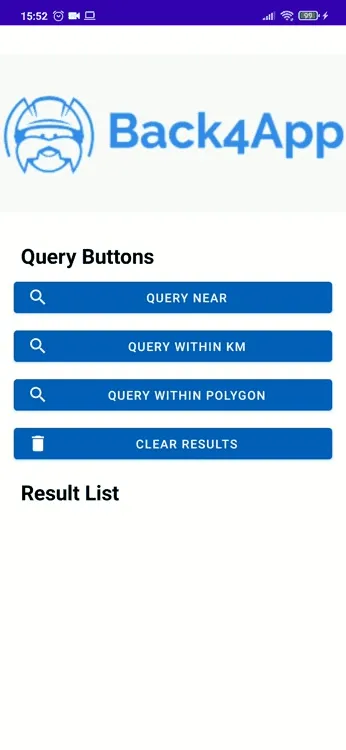
Here is a preview of what we are gonna achieve:
Prerequisites
To complete this tutorial, we need:
- An app created on Back4App.
- An android app connected to Back4App.
- Note: Follow the Install Parse SDK tutorial to create an Android Studio Project connected to Back4App.
Let’s get started!
Before next steps, we need to connect Back4App to our application. You should save the appId and clientKey from the Back4App to string.xml file and then init Parse in our App.java or App.kt file. Follow the New Parse App tutorial if you don’t know how to init Parse to your app.
Or you can download the projects we shared the github links above and edit only the appId and clientKey parts according to you.
1 - Save some data on Back4App
In this step, we will create a Class with the JS Console and Javascript codes provided by Parse and we will create queries for this Class.
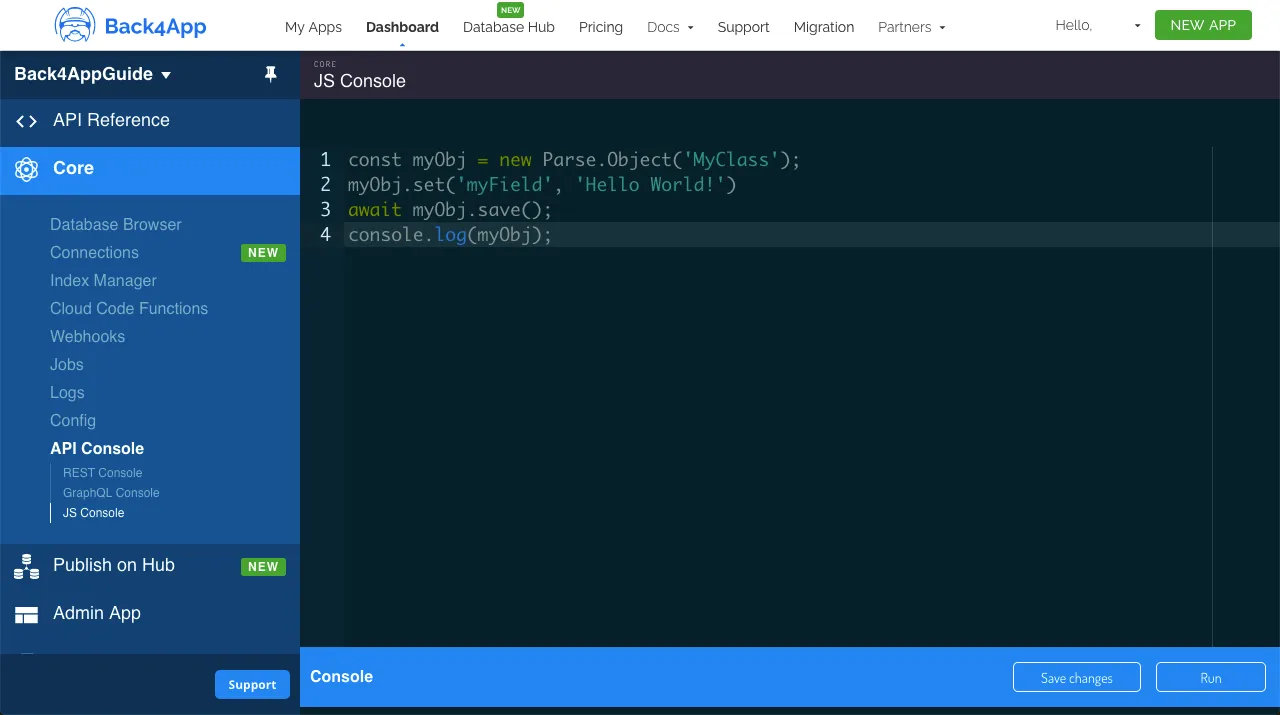
Let’s create a City class, which will be the target of our queries in this guide. On Parse JS Console is possible to run JavaScript code directly, querying and updating your application database contents using the JS SDK commands. Run the code below from your JS Console and insert the data on Back4App.
Here is how the JS Console looks like in your dashboard:
Go ahead and create theCityclass with the following example content:
1   // Add City objects and create table
2   // Note how GeoPoints are created, passing latitude and longitude as arguments
3   // Montevideo
4   City = new Parse.Object('City');
5   City.set('name', 'Montevideo - Uruguay');
6   City.set('location', new Parse.GeoPoint(-34.85553195363169, -56.207280375137955));
7   await City.save();
8
9   // Brasília
10  City = new Parse.Object('City');
11  City.set('name', 'Brasília - Brazil');
12  City.set('location', new Parse.GeoPoint(-15.79485821477289, -47.88391074690196));
13  await City.save();
14
15  // Bogotá
16  City = new Parse.Object('City');
17  City.set('name', 'Bogotá - Colombia');
18  City.set('location', new Parse.GeoPoint(4.69139880891712, -74.06936691331047));
19  await City.save();
20
21  // Mexico City
22  City = new Parse.Object('City');
23  City.set('name', 'Mexico City - Mexico');
24  City.set('location', new Parse.GeoPoint(19.400977162618933, -99.13311378164776));
25  await City.save();
26
27  // Washington, D.C.
28  City = new Parse.Object('City');
29  City.set('name', 'Washington, D.C. - USA');
30  City.set('location', new Parse.GeoPoint(38.930727220189944, -77.04626261880388));
31  await City.save();
32
33  // Ottawa
34  City = new Parse.Object('City');
35  City.set('name', 'Ottawa - Canada');
36  City.set('location', new Parse.GeoPoint(45.41102167733425, -75.695414598736));
37  await City.save();
38
39  console.log('Success!');
2 - Query the data from Android app
Now that you have a populated class, we can now perform some GeoPoint queries in it. Let’s begin by ordering City results by the nearest from Kingston in Jamaica (latitude 18.01808695059913 and longitude -76.79894232253473), using the ParseQuery.whereNear method:
1       ParseQuery<ParseObject> query = new ParseQuery<>("City");
2       query.whereNear("location",new ParseGeoPoint(18.018086, -76.798942));
3       query.findInBackground((objects, e) -> {
4           if (e==null){
5               initData(objects);
6           } else {
7               Toast.makeText(MainActivity.this, e.getLocalizedMessage(), Toast.LENGTH_SHORT).show();
8           }
9       });
Let’s now query using the method ParseQuery.whereWithinKilometers, which will retrieve all results whose GeoPoint field is located within the max distance. Kingston will be used once again as a reference and the distance limit will be 3000 km.
1       ParseQuery<ParseObject> query = new ParseQuery<>("City");
2       query.whereWithinKilometers("location",new ParseGeoPoint(18.018086, -76.798942),3000);
3       query.findInBackground((objects, e) -> {
4           if (e==null){
5              initData(objects);
6           } else {
7               Toast.makeText(MainActivity.this, e.getLocalizedMessage(), Toast.LENGTH_SHORT).show();
8           }
9       });
Another useful query method is ParseQuery.whereWithinPolygon, which will query results whose GeoPoint field value is within the specified polygon, composed of an array of GeoPoints (at least three). If the polygon path is open, it will be closed automatically by Parse connecting the last and first points. For this example, you will be using a simple polygon that roughly contains the South American continent, composed of 5 distant GeoPoints in the ocean.
1       ParseQuery<ParseObject> query = new ParseQuery<>("City");
2
3       ParseGeoPoint geoPoint1 = new ParseGeoPoint(15.822238344514378, -72.42845934415942);
4       ParseGeoPoint geoPoint2 = new ParseGeoPoint(-0.7433770196268968, -97.44765968406668);
5       ParseGeoPoint geoPoint3 = new ParseGeoPoint(-59.997149373299166, -76.52969196322749);
6       ParseGeoPoint geoPoint4 = new ParseGeoPoint(-9.488786415007201, -18.346101586021952);
7       ParseGeoPoint geoPoint5 = new ParseGeoPoint(15.414859532811047, -60.00625459569375);
8       ParseGeoPoint geoPoint6 = new ParseGeoPoint(41.015137, 28.97953);
9
10      List<ParseGeoPoint> list = new ArrayList<>();
11      list.add(geoPoint1);
12      list.add(geoPoint2);
13      list.add(geoPoint3);
14      list.add(geoPoint4);
15      list.add(geoPoint5);
16      list.add(geoPoint6);
17      query.whereWithinPolygon("location",list);
18
19      query.findInBackground((objects, e) -> {
20          if (e==null){
21              initData(objects);
22          } else {
23              Toast.makeText(MainActivity.this, e.getLocalizedMessage(), Toast.LENGTH_SHORT).show();
24          }
25      });
It’s done!
At the end of this guide, you learned how GeoPoint data queries work on Parse and how to perform them on Back4App from an Android app. In the next guide, you will check how to create and manage users in Parse.