Email Verification
User email verification for React Native
Introduction
Having a mobile app with unrestricted user registration can cause security issues and spam in your application server. Email verification can help you prevent this situation, requiring that any registered user on your app will have a valid email address.
In this guide, you will learn how to set up email verification in your Back4App server, which will automatically handle this verification. You will also learn how to make sure in your application that the user is indeed verified.
At any time, you can access the complete Android Project built with this tutorial at our Github repositories
Goal
To build a User LogIn feature using Apple Sign-in on Parse for a React Native App.
Prerequisites
To complete this tutorial, you will need:
1 - Configure Email Verification
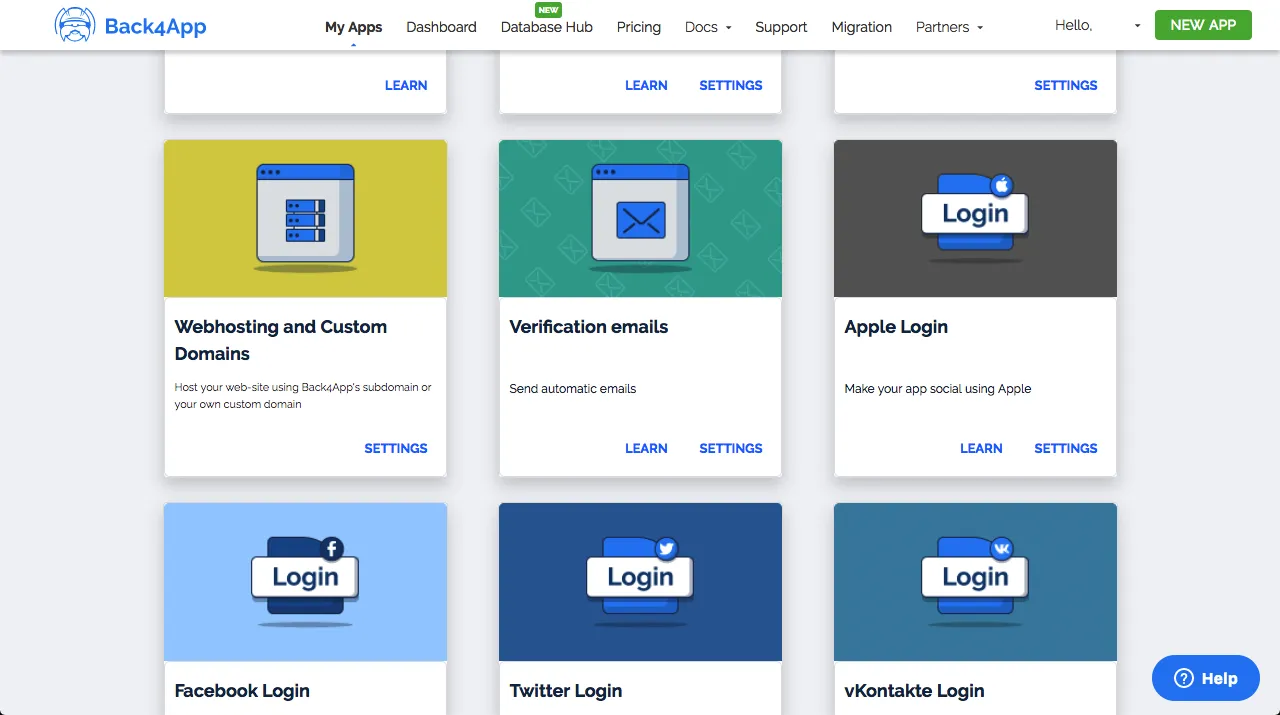
You will now configure your Parse Server on Back4App to require user email verification. Open your Back4App dashboard and navigate to your server settings control panel. Find the Verification emails feature and click on Settings:
Go ahead and check the Verify User Emails and Prevent login if email is not verified checkboxes. Feel free to update and customize any settings in this screen, like the verification email message body and reply-to address.
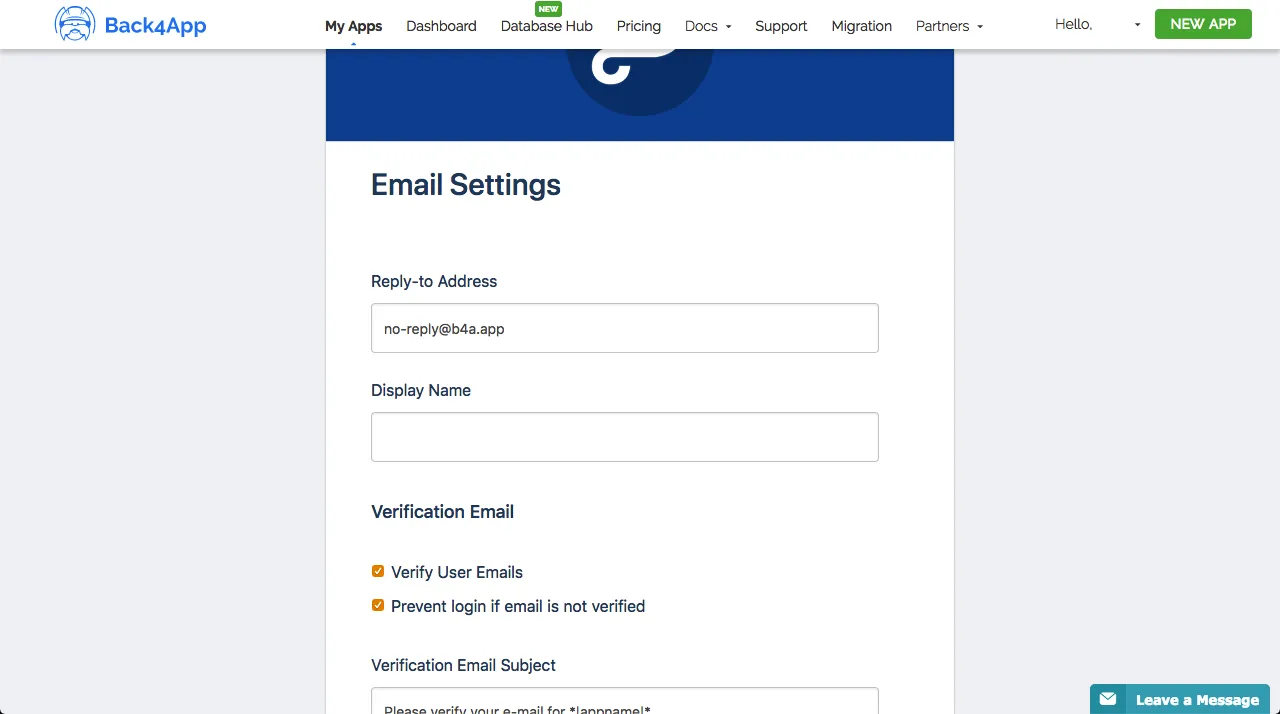
After setting this up, your Parse server instance will now handle user email verification automatically.
Note: Activating Prevent login if email is not verified is not required, but it is good practice to require your new users to verify before performing any action in your app.
2 - Update your UserRegistration component
You need to make some changes in your UserRegistration component to correctly sign up users with email verification. First, add a new input field for your user’s email value. Update the user registration function in the UserRegistration.js (UserRegistration.tsx if you are using TypeScript) file so now you are setting the email attribute on user data:
1	const doUserSignUp = async function () {
2	  // Note that these values come from state variables that we've declared before
3	  const usernameValue = username;
4	  const passwordValue = password;
5	  const emailValue = email;
6	  // Since the signUp method returns a Promise, we need to call it using await
7	  // Note that now you are setting the user email value as well
8	  return await Parse.User.signUp(usernameValue, passwordValue, {
9	    email: emailValue,
10	  })
11	    .then(async (createdUser) => {
12	      // Parse.User.signUp returns the already created ParseUser object if successful
13	      Alert.alert(
14	        'Success!',
15	        `User ${createdUser.get(
16	          'username',
17	        )} was successfully created! Verify your email to login`,
18	      );
19	      // Since email verification is now required, make sure to log out
20	      // the new user, so any Session created is cleared and the user can
21	      // safely log in again after verifying
22	      await Parse.User.logOut();
23	      // Go back to the login page
24	      navigation.dispatch(StackActions.popToTop());
25	      return true;
26	    })
27	    .catch((error) => {
28	      // signUp can fail if any parameter is blank or failed an uniqueness check on the server
29	      Alert.alert('Error!', error.message);
30	      return false;
31	    });
32	};
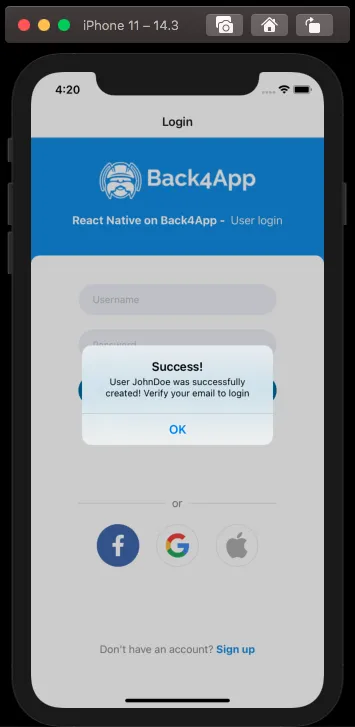
Note that since your user is not supposed to login without verifying his email, you need to log him out after registration to avoid any errors in the current application Session. Test your application and now you should see a message like this after registering a new user:
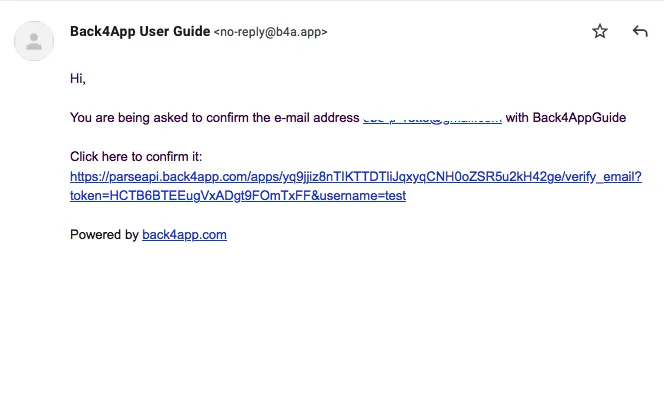
After successfully registering your new user, Parse will send an email containing a verification link, looking like this:
3 - Set up your UserLogIn component
Your Parse server is now blocking automatically login attempts that are not from verified users. However, it’s also a good practice to make sure that there is no way for your unverified user to access your application, so let’s add a new condition inside your UserLogIn component in the UserLogIn.js (UserLogIn.tsx if you are using TypeScript) file:
1	const doUserLogIn = async function () {
2	  // Note that these values come from state variables that we've declared before
3	  const usernameValue = username;
4	  const passwordValue = password;
5	  return await Parse.User.logIn(usernameValue, passwordValue)
6	    .then(async (loggedInUser) => {
7	      // logIn will throw an error if the user is not verified yet,
8	      // but it's safer to check again after login
9	      if (loggedInUser.get('emailVerified') === true) {
10	        Alert.alert(
11	          'Success!',
12	          `User ${loggedInUser.get('username')} has successfully signed in!`,
13	        );
14	        // Verify this is in fact the current user
15	        const currentUser = await Parse.User.currentAsync();
16	        console.log(loggedInUser === currentUser);
17	        // Navigation.navigate takes the user to the home screen
18	        navigation.navigate('Home');
19	        return true;
20	      } else {
21	        await Parse.User.logOut();
22	        return false;
23	      }
24	    })
25	    .catch((error) => {
26	      // Error can be caused by wrong parameters or lack of Internet connection.
27	      // A non-verified user will also cause an error
28	      Alert.alert('Error!', error.message);
29	      return false;
30	    });
31	};
4 - Test the email verification
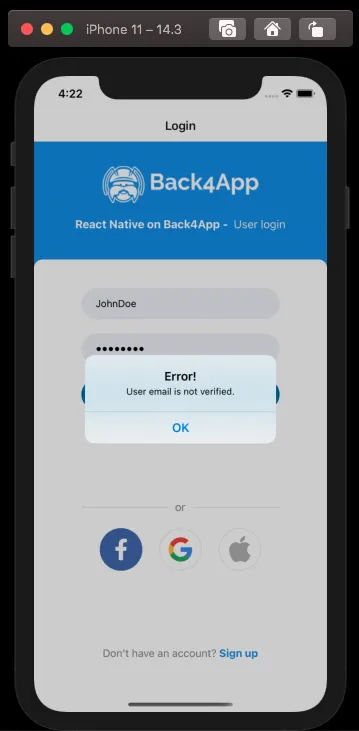
Go ahead and test your application, trying to log in using the unauthorized user created before. If you didn’t click the verification link on the email, you should get an error message like this:
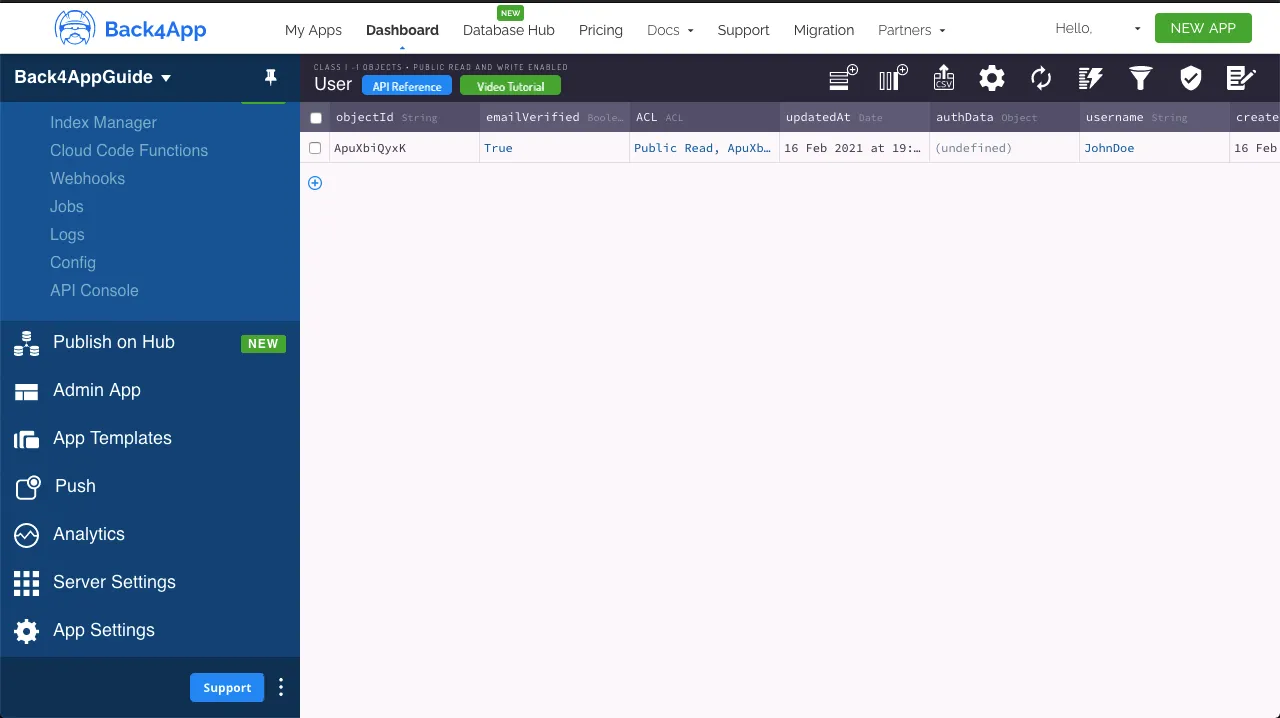
After clicking on the verification link, you will be able to log in and be redirected to your home screen. You can also verify your user by opening your Users table inside your Back4App dashboard and editing the emailVerified column manually:
Conclusion
At the end of this guide, you learned how to set up your Parse server to require user email verification and also to enforce this restriction inside your React Native application. In the next guide, we will show you how to perform useful user queries.